Nuts And Bolts of 3D Printing

I was eager to start my internship at Vimarc this summer, but I waited a week because Xavier University’s Innovation Center accepted me to participate in a weeklong 3D printing course called the University of the Future Design Challenge. As an art student, I am always eager to learn new forms of art, so I was beyond excited.
The program consisted of multiple courses taught by a MakerBot instructor. Courses ranged from how to use the printer to multiple 3D computer software. By the end of the week, you could apply your new skills to create and submit a design for the final challenge.
The 3D printing industry is quickly growing, and as more people are educated on the endless possibilities that 3D printing offers, more industries are looking for ways to incorporate the new technology into their businesses. Just to list a few of the amazing things created by 3D printing so far: bridges, clothing, instruments, body prosthetics, and even another 3D printer.
Yes, a 3D printer can even print out one of its own kind. A company has created a printer and programmed it to print out the separate pieces so that you can put them together. Might as well get yourself an early Christmas gift and then print out 3D printers for your friends and family.
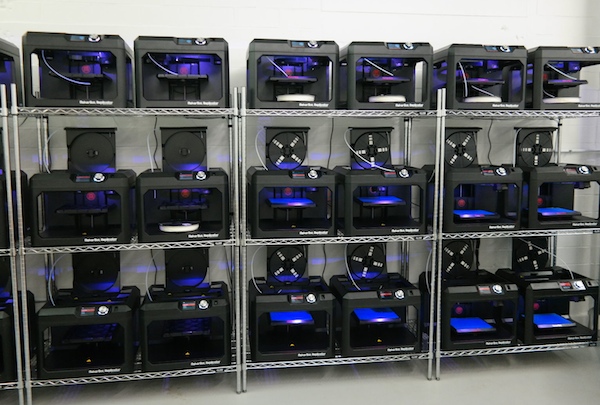
However, you may want to learn about some of the individual parts on the printer before you start to print them out. The first program course I took was an introduction to 3D printers. The Innovation Lab at Xavier University is equipped with MakerBots, so I got an up- and-close look at the printers.
The printers are relatively simple. Every 3D printer consists of the extruder, which is the part that the building material is fed into and then melted. In most 3D printers, the building material is some form of plastic filament. The extruder can move up and down, left and right in order to build the object. The object is constructed on a building platform, which can also move in most cases. Lastly, there is an X-axis, Y-axis, and Z-axis that the extruder depends on in order to know where to go on the building platform.

Once I understood the printer and its parts, I had a better grasp on how the machine printed out the digital files. This knowledge made it easier to create the 3D files — also known as STL files. The main difference you must keep in mind while creating a 3D object is that there are three axes. Seeing it on the printer made the axes a lot easier to imagine while creating.
The rest of my 3D courses focused on a variety of software to help me start building my 3D creations — all of which you can download for free.
The first software I learned about was Google SketchUp, which is typically used for architecture. I got pretty good at SketchUp and had a lot more practice with it than any of the other programs. It was the easiest for me to understand and get used to. I found the interface and the tools very user-friendly. SketchUp requires you to download a plugin, however, to convert your file to an STL file.
Tinkercad was the next 3D software I learned. It is Internet-based, which allows you to take part in its 3D community and browse users’ designs. Tinkercad is very welcoming to beginners. It offers premade shapes that you can then manipulate in a variety of ways. You can make extremely simple objects quickly with the software, and with time and patience, you can learn to make almost anything out of Tinkercad.
A more advance program is 1,2,3D Design. I really enjoyed this program; it had a lot more features than Tinkercad, but it was still simple enough for beginners to learn. It is definitely a software that I will spend more time getting to know.
Another software is Meshmixer, which is from Autodesk Inc., the same designer as 1,2,3D Design. Meshmixer is different from any of the other software I’ve mentioned thus far. It allows you to sculpt your designs; the tools allow users to pull, push, and smooth out designs, very much like virtual clay. This was one of my favorites. The tools were much different than those in other software, but Meshmixer was well worth the time to learn.
Other sculpting software I have yet to explore are Blender, Sculptris, and 1,2,3D Sculpt+. Even though I only covered a few software options, there are many more to choose from, and I would suggest researching and trying different options until you find the right one for you.
Once I was finished with an object, I saved it as an STL file. I then imported it into MakerBot Desktop (other printer companies will have their own software), which checks the file to make sure there areno holes or other issues with the object. From there, you can send your design off to the printer and watch your creation take form.
I was fortunate enough to participate in a fantastic 3D printing program and have access to the printers. Unfortunately, this is probably not the case for many people. If you are interested in 3D printing, 3dhubs.com finds 3D printers around you that will print your creations. But beware, the printing is not free.
- Gabrielle Sapata
Do you have any experience with 3D design or print? Share your 3D experiences with us via social media or email. We would love to hear about it!
